


Making a fur coat is a material-control process before it becomes a fashion process. The hair side has to keep beauty and direction; the leather side has to become clean, stable, flexible, and strong enough to move as a garment.
That double requirement explains why a finished coat cannot be judged only by shine. Selection, dressing, softening, matching, cutting, sewing, lining, and finishing all leave evidence the shopper can read later.
Fur making starts with two surfaces
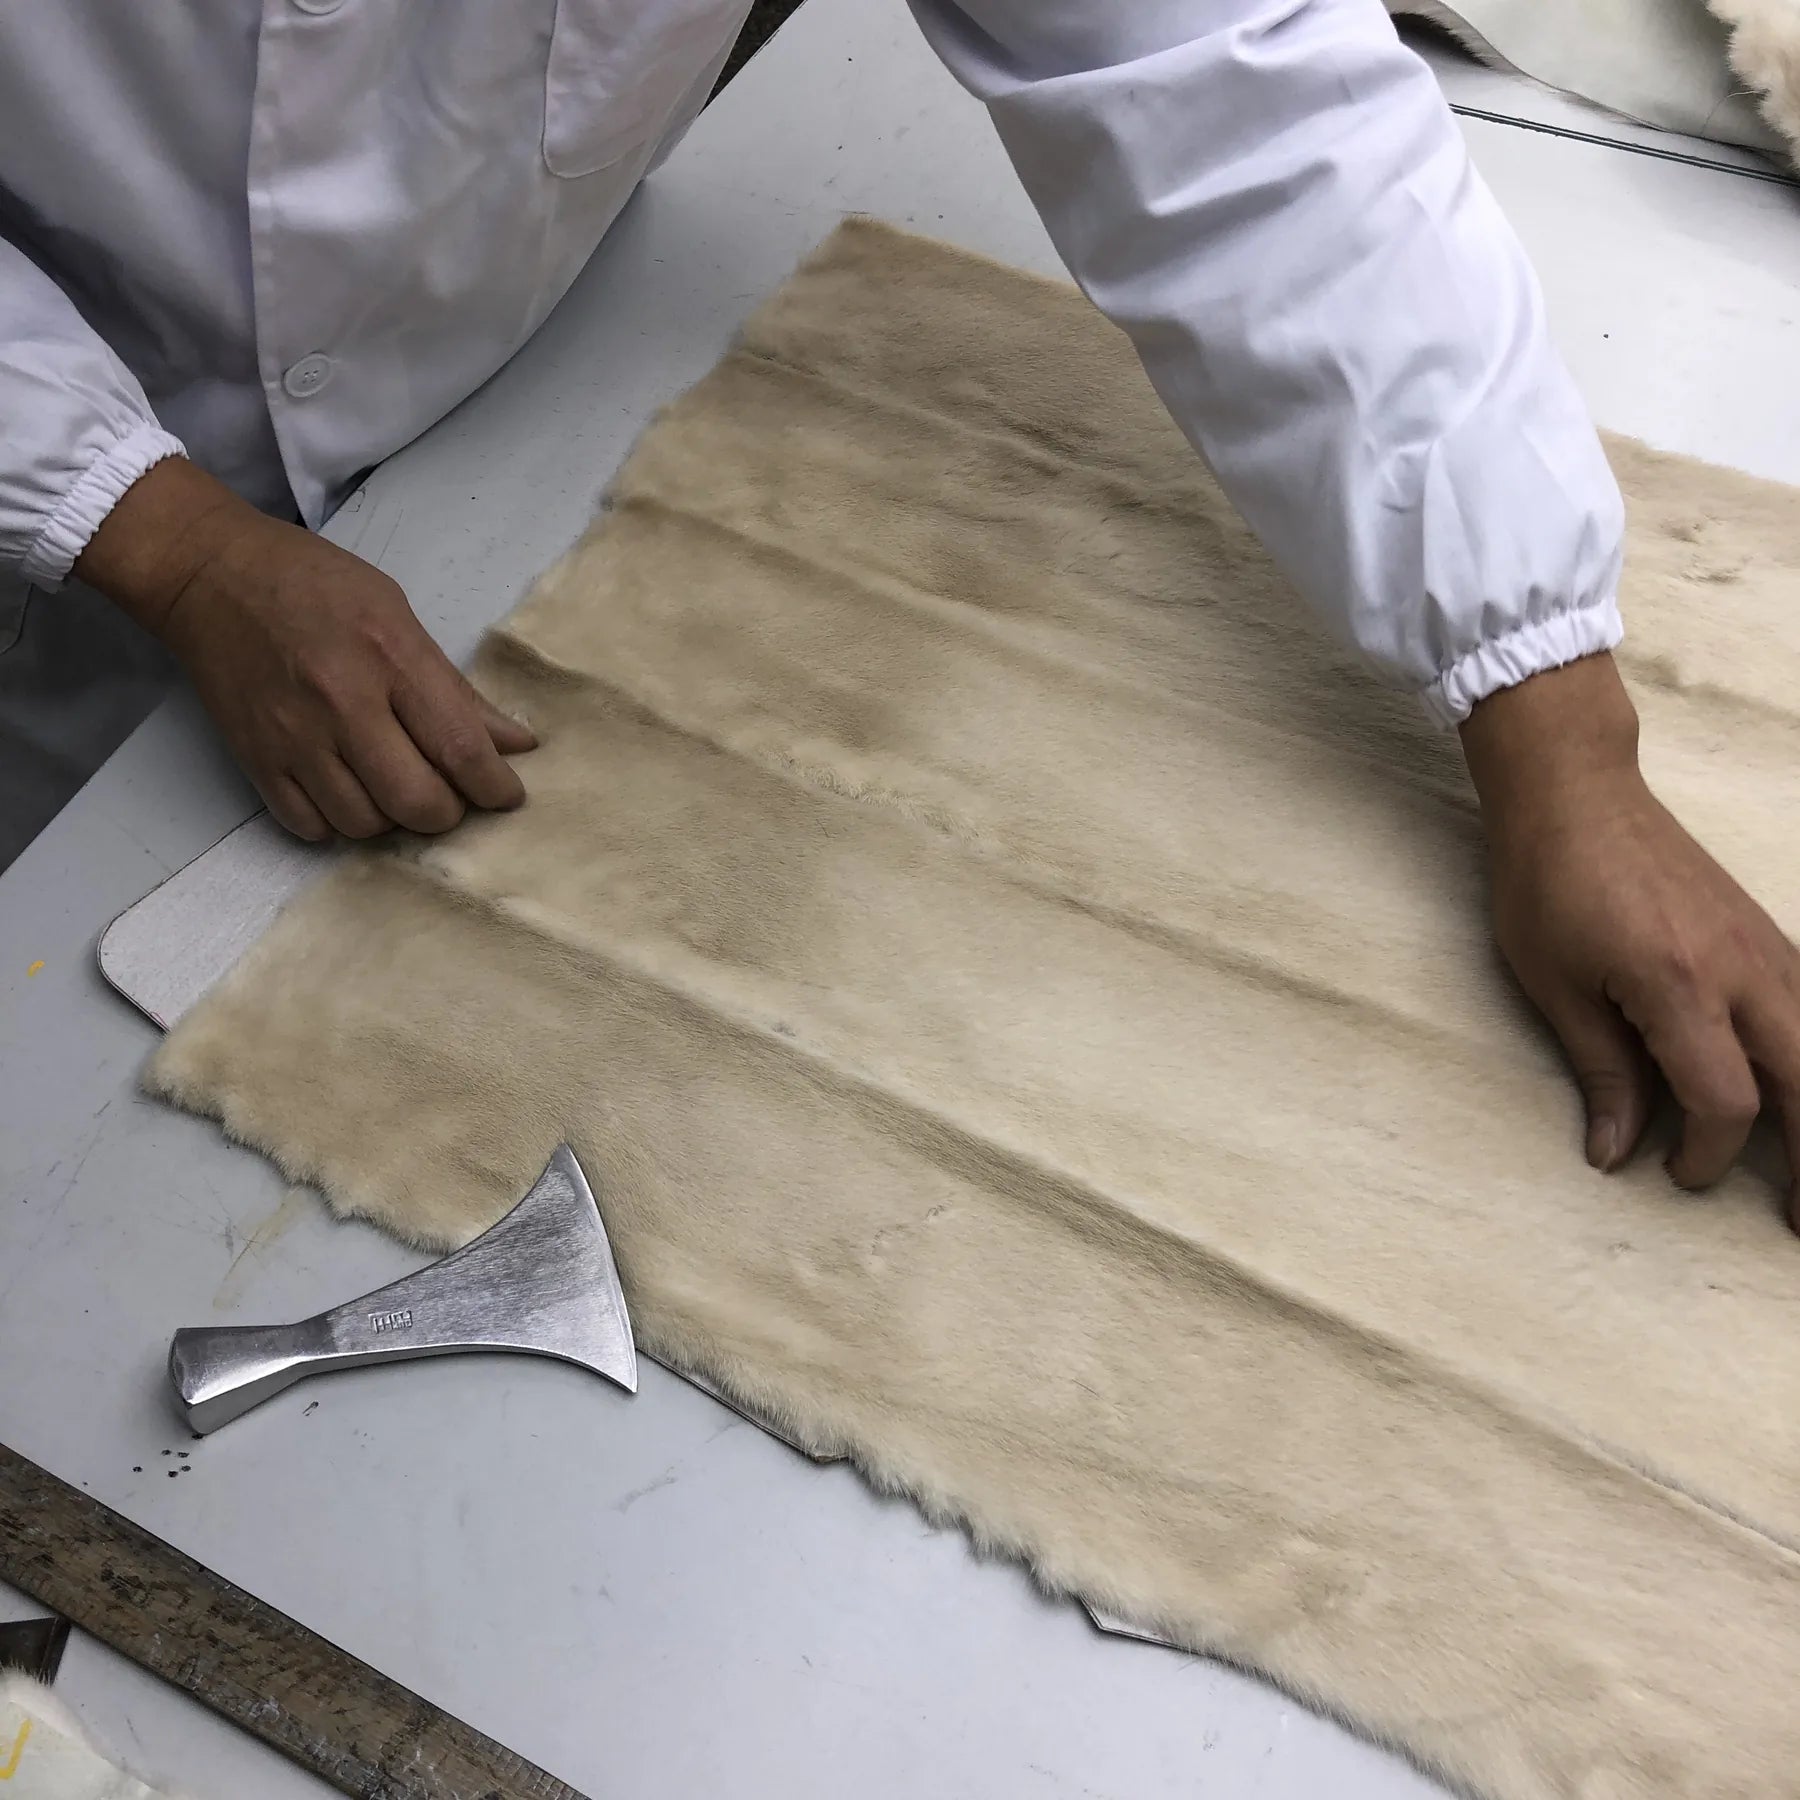
A fur pelt is not ordinary fabric. One side is hair, guard hair, underfur, curl, or shearling wool. The other side is skin that must behave like a soft leather base. The maker has to protect both at the same time. If the hair is beautiful but the leather is stiff, the coat will not move well. If the leather is soft but the hair is weak, patchy, or poorly matched, the surface will disappoint.
This is why the process is slower than a simple cut-and-sew story. The pelt is selected, preserved, soaked, cleaned, fleshed, degreased, dressed or tanned, dried, softened, stretched, finished, matched, cut, sewn, lined, and inspected. Some stages vary by species, origin, garment type, and factory practice, but the logic remains the same: stabilize the base, preserve the surface, then build a garment that wears correctly.
Selection and preservation decide what can be made later
The first craft decision is whether the pelt is suitable for the intended garment. A full coat, a short jacket, a collar, a trim piece, and a reversible shearling coat do not need the same qualities. A long coat needs enough compatible skins to create visual flow. A trim needs clean attachment and surface consistency. Shearling needs both wool face and leather face to read well.
Preservation protects the material before dressing. Pelts can be salted, dried, chilled, or otherwise handled depending on supply chain and processing route. Poor preservation can create odor, hair slip, uneven skin condition, or later weakness. A shopper may never see that stage, but the consequences can appear as shedding, stiffness, dullness, or a coat that never hangs naturally.
For buying context after this article, the Fur Coat Guide is the broader path. The process here explains why material, construction, and care cannot be separated when choosing a finished coat.
Cleaning, fleshing, and degreasing prepare the skin
Before the leather side can be stabilized, the pelt has to be made clean enough for controlled processing. Soaking returns moisture to a preserved skin. Washing and cleaning reduce dirt, blood, salts, and residue. Fleshing removes remaining tissue from the leather side. Degreasing matters because natural fats can interfere with even dressing and can leave odor or handling problems if they are not controlled.
This preparation stage is not glamorous, but it shapes the finished garment. A coat that later feels greasy, smells stale, or behaves unevenly may be carrying problems from material history, storage, or processing. That does not mean every flaw began in the workshop. It means the best workshops treat early preparation as part of quality, not as an invisible chore.
Why the leather side matters to shoppers
When a coat moves, you are seeing the leather side doing its job. Flexibility, drape, sleeve movement, shoulder comfort, and how the hem hangs all depend on the base behind the hair.
Dressing and tanning stabilize the leather side
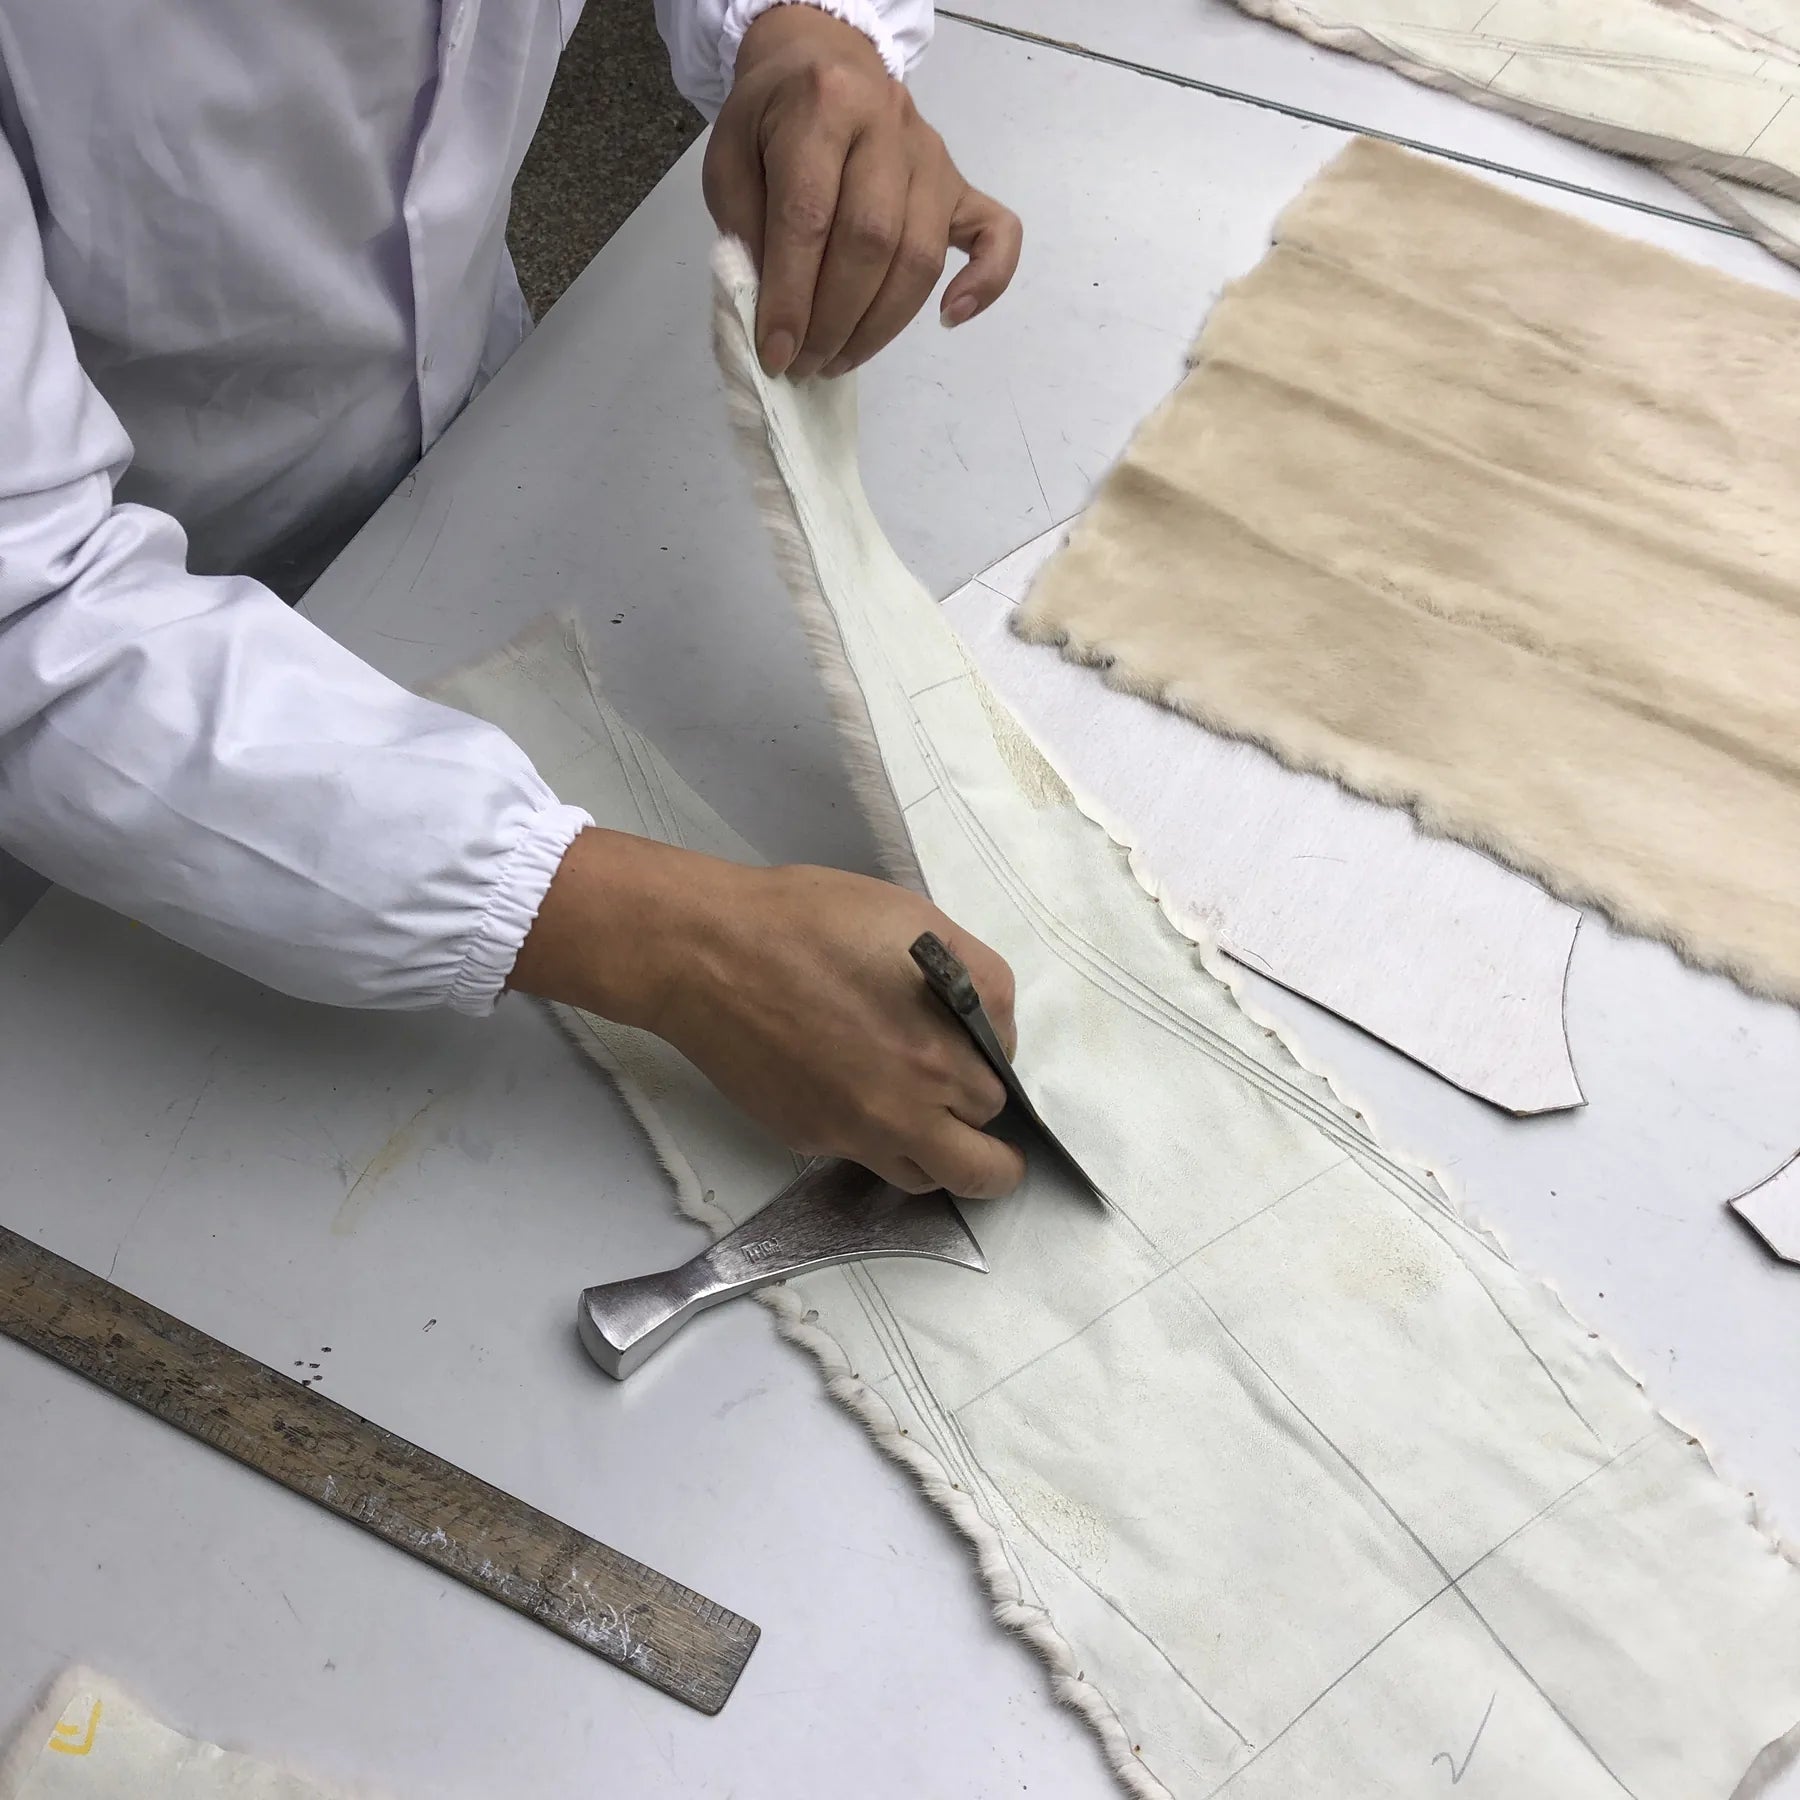
Fur dressing is the technical stage that turns a preserved skin into a usable garment material. It may include pickling, tanning or dressing chemistry, oiling, drying, staking, stretching, and mechanical softening. Technical leather literature often describes tanning as a way to stabilize collagen so the skin resists decay and gains more durable handling properties. Fur adds a further constraint: the hair must remain attached and visually clean.
The exact method depends on the material and producer. Some processes emphasize softness. Others emphasize strength, whiteness, color control, water behavior, or the needs of later dyeing. For the shopper, the visible result is not a chemistry label. It is whether the finished coat feels flexible, whether the surface looks even, whether the lining does not fight the outer shell, and whether the garment feels like clothing rather than a flat skin.
| Process stage | What it controls | Finished-coat evidence |
|---|---|---|
| Soaking and cleaning | Moisture balance, residue, odor, early cleanliness. | Cleaner handle, fewer stale signs, more even later finishing. |
| Fleshing and degreasing | Leather-side smoothness and fat control. | Better softness, less greasy feel, more predictable drape. |
| Dressing or tanning | Stability, flexibility, and resistance to decay. | Leather side bends without crackly stiffness. |
| Oiling and softening | Hand feel, movement, and body. | Sleeves move, hem hangs, shoulders do not feel board-like. |
| Finishing | Surface polish, direction, color, and inspection. | More even tone, cleaner nap, fewer weak patches. |
Softening and drying decide how the coat moves
After dressing, the material has to dry and regain a usable hand. Mechanical staking, tumbling, stretching, and careful finishing can make the leather side more supple. This is where a technically processed material starts to behave like a garment material.
Too much stiffness is one of the clearest signs shoppers can notice in older or poorly stored fur. A stiff leather side does not only feel unpleasant. It can affect sleeve lift, shoulder comfort, closing tension, and whether a coat makes noise or resists movement. If you already own a coat and are judging condition, the Fur Coat Care Guide and storage guide help connect processing knowledge with daily care.
The inside explains the outside
Lining, leather flexibility, closures, and hem behavior tell the shopper whether the beautiful surface has enough structure behind it.
A finished fur coat should not be judged only from the front photo. Open the coat, look at the inside, and check how the material moves.
Matching skins is the quiet craft step shoppers notice later
Matching is where many coats gain or lose elegance. Fur is natural material, so skins vary in color, hair length, density, curl, guard hair, underfur, and direction. A maker sorts and arranges skins so the finished garment reads as intentional rather than patchy.
In a strong coat, the viewer may not notice the matching immediately because the surface feels calm. Sleeves relate to the body. The collar does not fight the front panels. Color changes look controlled. In a weaker coat, mismatched skins can make one sleeve look heavier, one panel look dull, or one side look warmer in tone.
Matching does not mean every coat must look perfectly uniform. Fashion pieces may use contrast deliberately. The point is control. A dramatic design should look chosen. A quiet coat should not reveal random panels each time the light changes.
Species and garment type change the route
The making process is not one fixed recipe for every coat. Mink, fox, shearling, rabbit, and fur trim ask for different handling priorities. Mink often depends on compact density, clean surface, and controlled drape. Fox needs volume that still has direction. Shearling asks the maker to respect wool face and leather face together. Fur trim has to work with the garment that carries it, such as a parka, hood, cuff, or collar.
This matters because a shopper should not judge every finished coat by the same signal. A dense mink coat may earn confidence through even surface and quiet structure. A fox coat may need side views and collar proof because volume can become either beauty or bulk. A shearling coat should be judged through leather feel, wool consistency, seam structure, and weight. A fur-trimmed parka should be judged through attachment, shell quality, hardware, and whether the trim is removable or integrated.
| Material route | Craft priority | What the shopper should read |
|---|---|---|
| Mink | Density, clean direction, supple backing, polished finish. | Even body, flexible sleeves, quiet shine, balanced panels. |
| Fox | Airy volume, guard-hair direction, collar and sleeve control. | Shape from the side, healthy fullness, no crushed or matted areas. |
| Shearling | Leather face, wool face, seam strength, and garment weight. | Soft interior, stable outer surface, clean edge finishing. |
| Fur trim | Attachment, scale, shell compatibility, detachable hardware. | Trim should look integrated, not added as decoration that fights the coat. |
Cutting and sewing turn material into a coat
Once the skins are matched, pattern work turns the material into a wearable shape. The maker has to consider pelt size, direction, seams, stress points, lining, closures, pockets, collar shape, sleeve movement, and hem behavior. A fur coat is heavy enough that poor shoulder support or weak closure placement can change how the garment feels after a few wears.
Some coats use large panels. Some use smaller pieces. Some are let out to create longer, narrower strips. Some combine fur with leather, wool, down shells, or detachable trims. None of those approaches is automatically good or bad. Quality comes from whether the construction matches the intended use and whether the finished garment can move, close, and store correctly.
If the process has made you more interested in finished-garment inspection, use the buying path in the Firelady Fur Guide and compare real product categories such as fur coats, mink coats, and shearling coats by use case rather than by surface alone.
They should serve movement
Seam placement matters most where sleeves lift, fronts close, and the hem carries weight.
It should support the shell
A lining that pulls, twists, or hides stress makes a beautiful surface less trustworthy.
They should match the weight
Hooks, buttons, snaps, and zippers need enough strength for the garment they hold.
Weak process becomes visible in ordinary wear
The weakest signs often appear when the coat is handled normally. A sleeve that resists lifting may point to stiff backing, poor pattern balance, or a lining that fights the shell. A collar that collapses may come from weak support, crushed storage, or poor matching. A hem that twists can reveal uneven weight or construction strain. A coat that looks rich in one front image can still lose confidence in motion.
Use ordinary movements as the final craft check. Close the coat. Lift the arm. Let the hem fall. Open the front and look at the lining. Turn the collar. Check whether the pockets pull. If a coat is too delicate to survive those gentle checks, the making story is not complete for real ownership.

Texture should stay readable in normal light
A strong finish does not need extreme lighting. Ordinary light should still show density, direction, tone, and surface condition.
If the surface only looks good in a blurred glamour shot, inspect closer before trusting the material claim.
Care continues the making work
Production gives the coat its starting condition. Ownership decides how much of that work survives. Dark storage, broad hanger support, moisture caution, clean lining, and timely repair all protect the leather side and the hair side together. A well-made coat can still suffer if it is stored in plastic, compressed in a hot closet, covered while damp, or brushed aggressively.
The reverse is also true: a moderate coat kept clean, dry, supported, and repaired at the right time may stay more wearable than a better-made coat neglected for years. That is why craftsmanship and care belong in the same conversation. If the article has made the leather side feel more important, use the maintenance article before seasonal storage or cleaning.
| Finished-coat sign | Process or care question | Buying implication |
|---|---|---|
| Crackly stiffness | Is the leather side dry, poorly softened, or badly stored? | Proceed cautiously; repair or restoration may not be simple. |
| Patchy tone | Is it natural variation, uneven dye, poor matching, or wear? | Ask for ordinary-light photos before judging value. |
| Lining pull | Does the inner construction fight the outer shell? | The coat may feel less comfortable than it looks. |
| Weak closures | Were hardware and weight matched correctly? | Budget for reinforcement or choose a better-built coat. |
Dyeing, glazing, and final inspection finish the surface
Finishing can include brushing, combing, glazing, shearing, dyeing, trimming, conditioning, and final visual inspection. These steps shape how the finished surface catches light. They can make mink look compact and polished, fox look airy and dimensional, shearling look warm and structured, or trim look clean against another shell.
Dyeing requires special care because color must be attractive without hiding weak material. A black coat should not rely on darkness to hide uneven surface. A pale coat should not yellow or look flat. A fashion color should still reveal texture and direction. Final inspection should catch bald patches, weak seams, lining pull, poor closure alignment, and any surface issue that would become obvious in wear.

What the process means before you buy
A shopper does not need to become a fur dresser to use this knowledge. The process should change where the eye goes. Do not stop at softness, shine, or a dramatic front photo. Check whether the material has body, whether the sleeves move, whether the lining supports the shell, whether color looks controlled, and whether the coat's use case matches its construction.
Ask simple questions. Does the coat hang evenly? Does the collar sit cleanly? Do the closures align without pulling? Does the surface look consistent across sleeves and body? Does the leather side feel flexible enough for wear? Does the lining make the coat feel finished rather than hidden?
That is the buyer value of understanding production. You begin to read the finished coat as evidence of many earlier decisions.
What the process tells you before purchase
The hair side is only half the story. Shine and softness matter, but leather flexibility decides whether the coat can move as clothing.
Preparation shows up later as trust. Poor cleaning, fleshing, degreasing, or preservation can echo as odor, stiffness, weak hand, or uneven behavior.
Matching is a quality signal. Calm color flow, balanced sleeves, and controlled surface direction make a coat feel intentional rather than assembled from leftovers.
Construction turns material into wearability. Seams, lining, closures, pockets, collar, and hem decide whether the coat can handle real movement.
Care begins with how the pelt was finished. A well-made coat still needs dark storage, airflow, moisture caution, and repair judgment to preserve the work already done.
FireladyFur's craftsmanship judgment
FireladyFur reads fur craftsmanship through the finished garment: does the coat look beautiful, and does the structure explain why it will wear well? The process matters because it teaches the shopper to inspect beyond surface shine.
For brand context, see About FireladyFur and Editorial Standards. For buying and ownership paths, pair this article with the Fur Coat Guide and the Fur Coat Care Guide.
Inspect the finished coat through the process behind it
Use the making process as a reading method. Surface, leather side, lining, closure, color, and movement should all support the same promise before the coat becomes a serious purchase.
What are the main steps in making a fur coat?
The main stages are pelt selection, preservation, soaking, cleaning, fleshing, degreasing, dressing or tanning, drying, softening, matching, cutting, sewing, lining, finishing, and inspection.
Why does the leather side of fur matter?
The leather side carries flexibility, drape, seam strength, and movement. A coat with beautiful hair but stiff backing can feel uncomfortable and age poorly.
Is tanning the same as making the whole fur coat?
No. Tanning or dressing stabilizes the skin side. The finished coat also requires matching, pattern work, sewing, lining, closures, finishing, and inspection.
How can shoppers judge craftsmanship in a finished fur coat?
Look for consistent surface, balanced color, flexible movement, clean lining, aligned closures, stable seams, and a coat that hangs naturally rather than resisting the body.
Does a well-made fur coat still need careful care?
Yes. Good making gives the coat a stronger starting point, but storage, moisture control, cleaning judgment, and repair timing still affect long-term wear.


