


Article Summary
Material-detail photos can show surface appearance, label wording and accessible construction. Pair a close view with its location, then keep species identification, odor, hidden skin and unknown history separate from the photograph.
When the material value overview identifies an unresolved material or build question, choose the detail view that can actually help. A photograph documents appearance; it does not authenticate species or certify hidden strength.
- Context: a full view identifies the garment and the location of the detail.
- Surface: a clear close-up shows visible density, pile, guard hairs or finish.
- Construction: an accessible lining, edge, seam or attachment shows how the visible parts join.
- Identification: show any material label in context and its wording clearly; leave uncertainty explicit.
- Important flaw: bring it forward beside its note instead of saving it for the last image. The complete-gallery guide covers the wider photo sequence.
Show Surface Detail and Any Material Label
Start with a clear surface view of the actual used coat, not a similar new product. Keep the garment and camera steady, use a neutral background, and avoid flash glare. eBay recommends clear views from several angles and closeups of imperfections.
A mink texture closeup shows the surface; it does not authenticate the species or certify quality. Show any material label in context on the garment, then photograph its wording clearly. For fox, add a side view of volume; for shearling, show both surfaces; for trim, show attachment to the shell. If identification remains uncertain, say so rather than naming a species from a photograph alone.
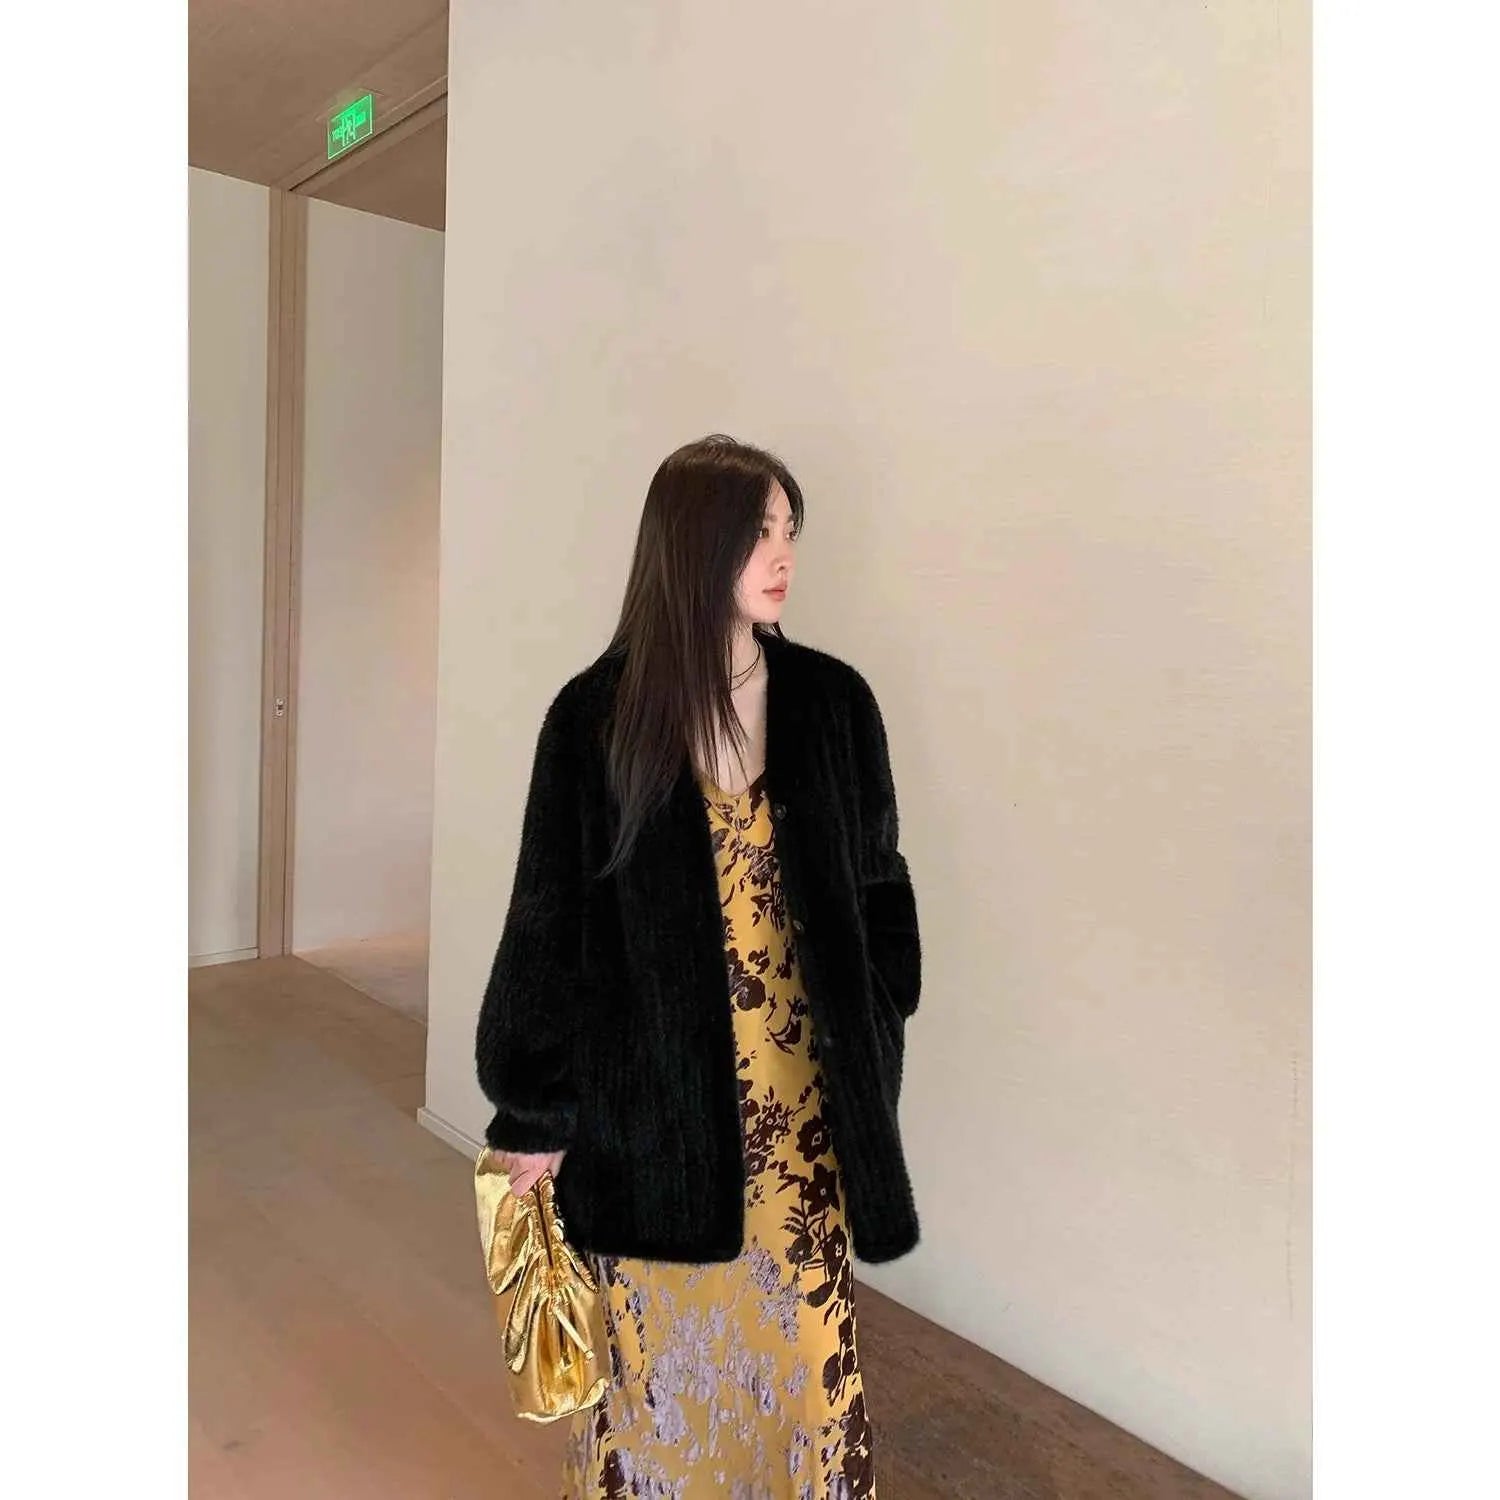
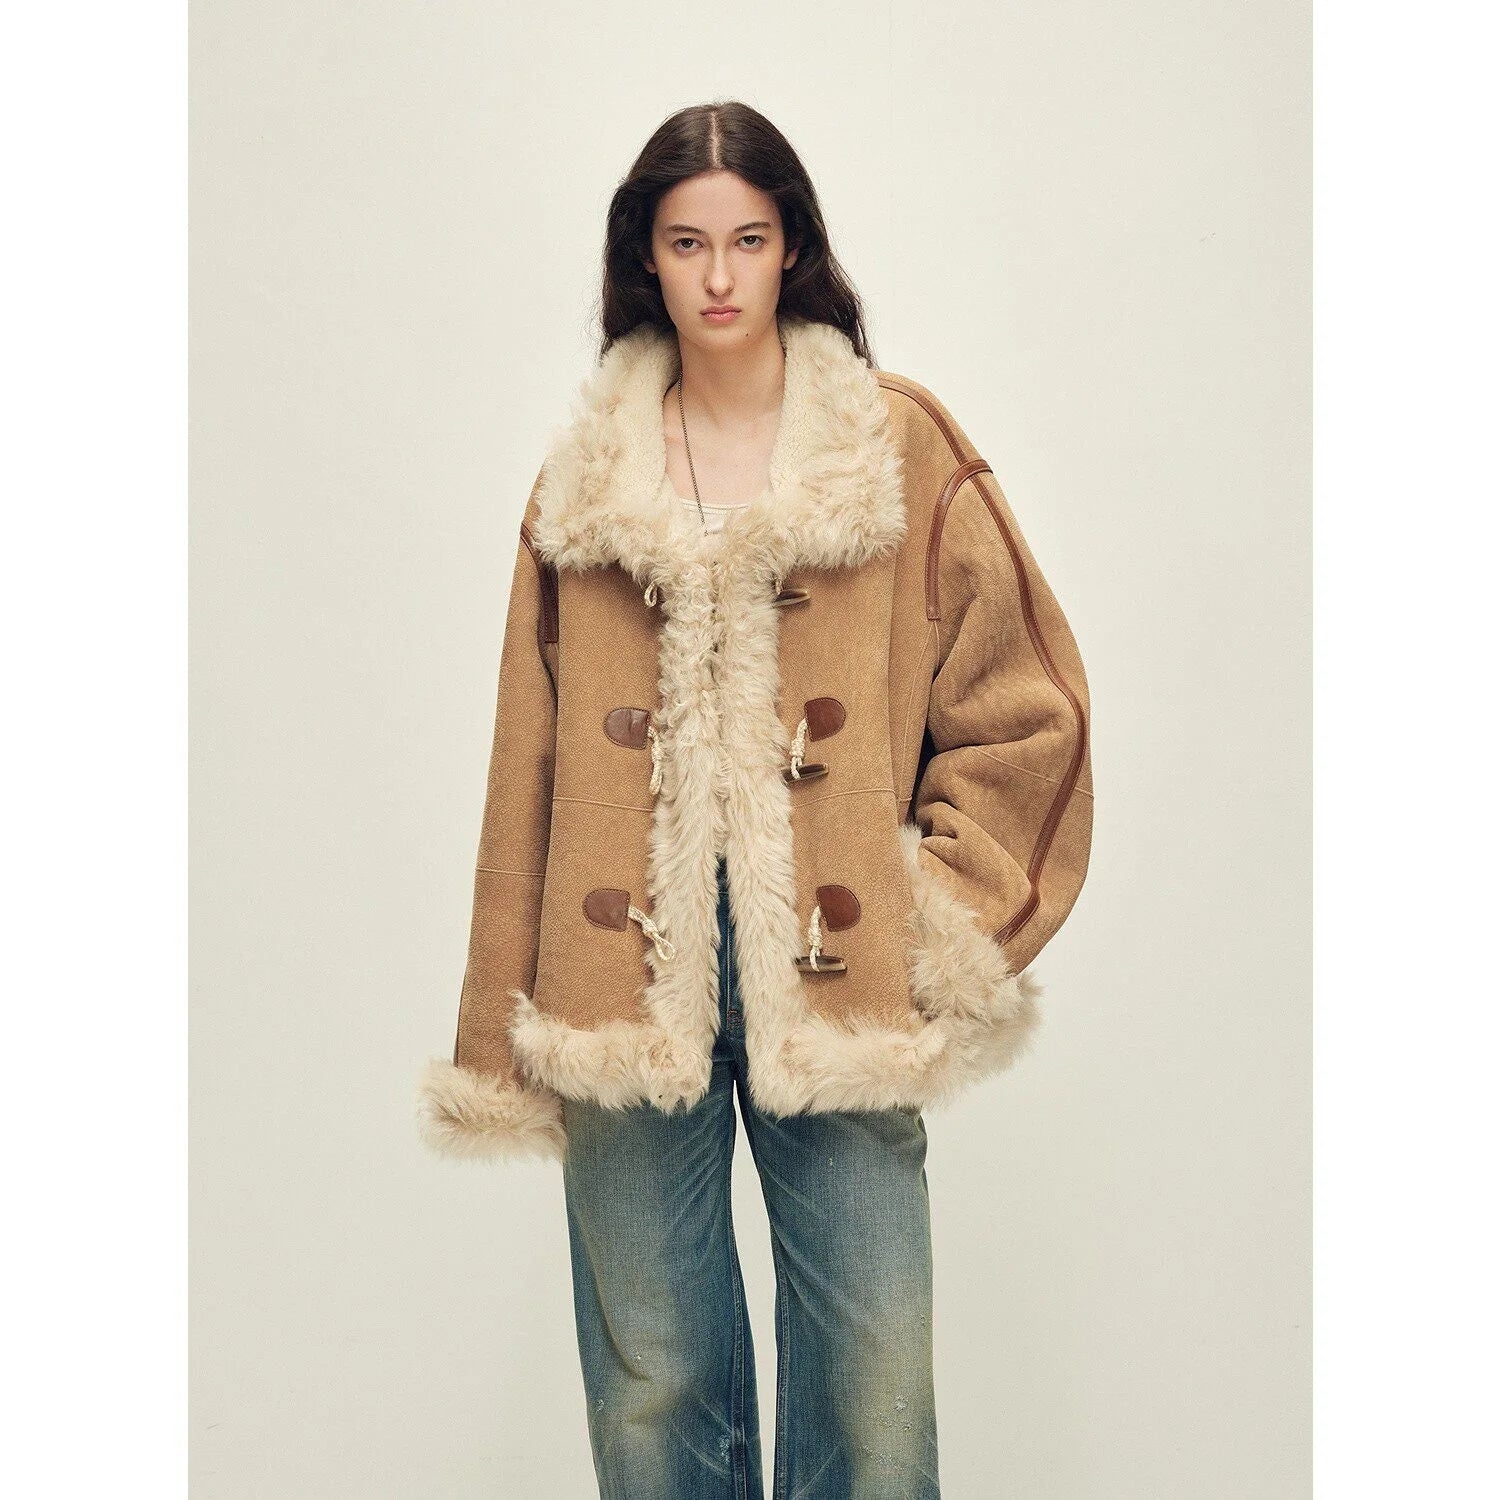
Keep Light Consistent Across Detail Views
Natural light helps show texture and color, but the photo set should not change so much that the coat looks like different items. Use one main lighting situation for the full views and a consistent simple light for closeups. If color shifts across photos, say which photo is closest to the real color.
Dark mink, black fox and dark rabbit can hide wear in flat light. Pale shearling, cream fur and white trim can exaggerate shadows or stains. A side-light detail can help, but it should be paired with a normal front photo so the buyer can read both beauty and condition.
Include the Edge and the Construction Around It
Show accessible cuffs, collar, pocket edges, underarms and hem when they have visible flattening, thinning, matting or a mark. These views document the current area; they cannot establish whether a change is dust, wear or a particular storage event.
For a construction claim, show the accessible joining edge, seam or attachment with its surrounding part. The full-skin, knitted, sheared and trim comparison explains which build detail is relevant; measurements and whole-garment coverage belong in the complete gallery.
| Detail view | What it can show | Caption and limit |
|---|---|---|
| Surface plus wider context | Visible density, guard-hair direction, sheen or sheared finish. | Close surface view in neutral light; not authenticated species or hidden-skin condition. |
| Cuff and whole sleeve | Rub, matting, thinning or a visible split and its location. | Left cuff edge shown; state actual wear without a cause guess. |
| Lining and lower edge | Accessible attachment, opening, pulling or visible repair. | Full accessible lining with lower edge; not odor or storage proof. |
| Fastener or trim attachment | Visible hardware, missing parts and how trim joins the shell. | Attachment detail shown; hidden strength and species remain separate. |
| Label in garment context | The wording on an existing label. | Label wording shown; identification may still need reliable records or specialist review. |
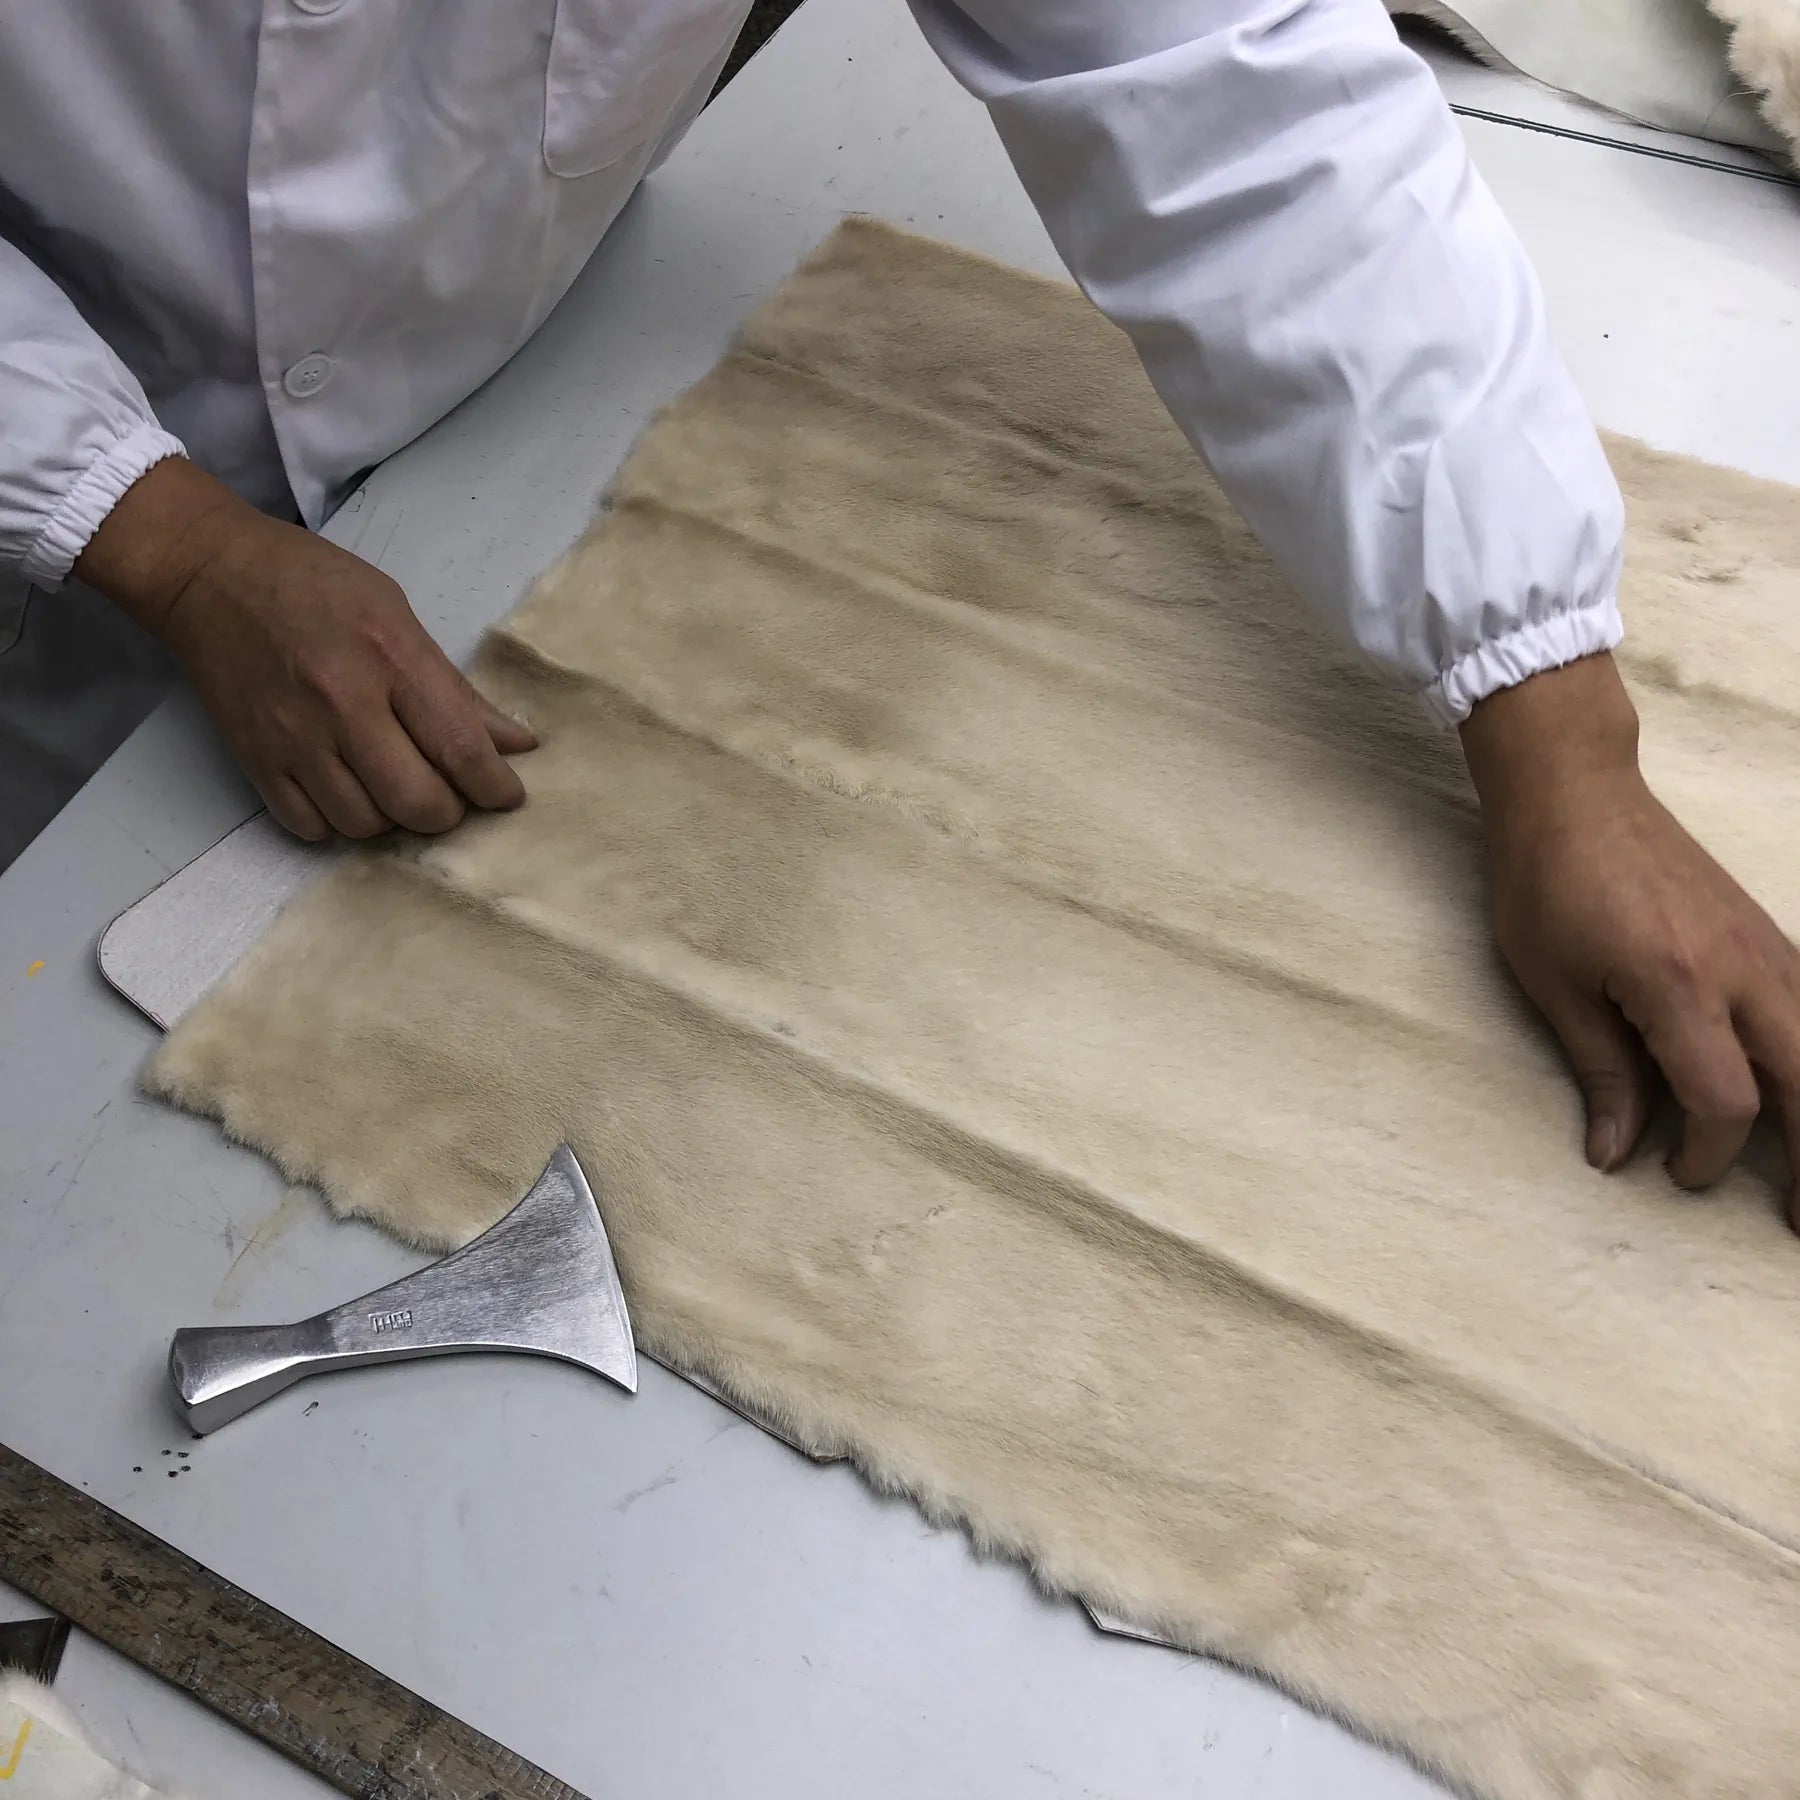
Pair the Material Detail with Its Location
Photograph the whole sleeve, then its worn cuff; photograph the inside of the coat, then the lining opening. Pair an attachment detail with the shell it joins. A close crop alone can leave size and location unclear. The complete-gallery guide covers the broader image order; these detail views answer the specific material or construction question.
Keep Odor, Stiffness and Hair Release in Words
Odor is invisible. That makes the condition note more important, not less. If there is a scent issue, do not let attractive photos carry the opposite promise. Use the odor and dryness resale article for wording boundaries.
Photographs cannot establish smell, hidden-skin flexibility or storage history. Disclose an odor or resistance already noticed separately and identify unexamined areas. A clean interior image is not evidence that the coat is odor-free.
Describe loose hair already noticed during necessary handling without repeating movement or brushing to establish a shedding level. A photograph of the surface cannot certify that hair will remain attached during wear.
Give Captions a Location and Update the Text
A flaw photo does not need dramatic apology. It needs orientation. Show the worn cuff, the lining opening, the light stain, the missing belt loop, the flattened collar area or the trim attachment issue. Then write a sentence that says exactly where it is and whether it affects wear.
A caption does not need to repeat the obvious. Instead of front of coat, write full front view showing length and closure line. Instead of inside, write full lining shown with lower edge. Instead of closeup, write close surface photo in natural light.
Match the location in the caption with the condition note. The same cuff, lining opening or attachment should be identifiable in both. A photograph does not guarantee acceptance or prevent a dispute.
If a new detail photo reveals cuff wear or a lining opening, update the description before publishing or relisting. State relining as known history only when it is documented; a newer-looking lining alone does not prove replacement.
Keep a Record Without Stressing the Coat
Keep an existing current photograph with the sale record, or take an accessible final view only when this will not strain the garment. Do not reposition a fragile coat just for a packing record. The record does not guarantee the outcome of shipping or a return dispute.
Tape photographs and typed shoulder, chest, sleeve, back-length and sweep measurements answer fit questions. Keep them in the wider gallery or measurement block; a close texture image cannot provide those dimensions.
Review each material-detail image with its caption: can the reader locate the part, see the relevant surface or attachment, and distinguish that observation from species identification or hidden condition? Add a genuinely missing view when safe; put odor and other nonvisual observations in text.
Keep the Material Evidence Within Its Limits
Pair detail with location. A close cuff or lining opening needs a wider view.
Show a label as a label. Its wording is separate from current condition and any unresolved species identification.
Keep nonvisual observations in text. Odor, resistance and hair release cannot be certified by an attractive image.
Update the same garment record. New observations should be reflected in both captions and the condition description.
FireladyFur's photo standard for material value
FireladyFur uses photos to keep material advice grounded. A guide can describe mink density, fox volume or shearling wearability, but the buyer still needs images that show the coat in front of them.
The Fur Coat Guide explains material and ownership questions; the Fur Coat Comparison Guide helps compare garment types. Neither replaces the actual coat photos and identification details needed for your resale listing.
Photograph the claim before you write it
Use detail photographs for appearance and construction. If species identification remains uncertain, seek reliable identification rather than taking more texture photos and calling them proof.
How many material photos does a fur coat resale listing need?
Include full front and back views, surface details, collar, cuffs, lining, hem, closures, labels and any wear. Coverage matters more than a fixed count. Photos document appearance; a material label, reliable garment record or specialist identification is needed when the species is uncertain.
Should I photograph flaws even if they lower price?
Yes. Show the location and extent of the flaw and name any unassessed effect on use. For the wider price or selling decision, use the fur coat resale value guide. A photograph does not establish a price reduction or guarantee protection in a dispute.
Can photos replace a condition description?
No. Use text to identify the location and extent of photographed wear, and separately disclose odor, observed shedding, stiffness, repairs and unknowns that the images cannot establish.


