


Article Summary
A resale buyer reads the gallery before trusting the description. The lead photo can make the coat desirable; the lining, cuffs, label, measurements and flaw close-ups decide whether the listing feels safe.
Photographs can show construction and visible wear. They cannot establish softness, odor, exact age or storage history; put those observations and unknowns in the description. For decisions about asking price, selling channel or whether to list the coat, use the fur coat resale value guide.
Prepare a Supported, Consistent Photo Setup
Complete the pre-listing fur coat inspection checklist before changing the coat’s position. For a stable coat, use a plain wall, suitable broad hanger, neutral light and enough space for the whole garment. Keep a fragile coat supported and arrange assessment rather than hanging or repositioning it for a tidier photograph.
Take the evidence photos first. After the condition set is complete, you can add one styled or worn image if it helps the buyer understand scale. The styled image should be extra context, never the only clear view.
Use a consistent hanger or model setup. Switching between a thin hanger, broad hanger, bed photo and cropped mirror can make the coat look like four different garments. Consistency helps the buyer judge shape. Use one main setup, then add close-ups.
A worn or mannequin photo is optional and only appropriate when the garment is stable enough for ordinary use. Keep it uncropped for scale; omit it for stiffness, splitting or continuing hair release.
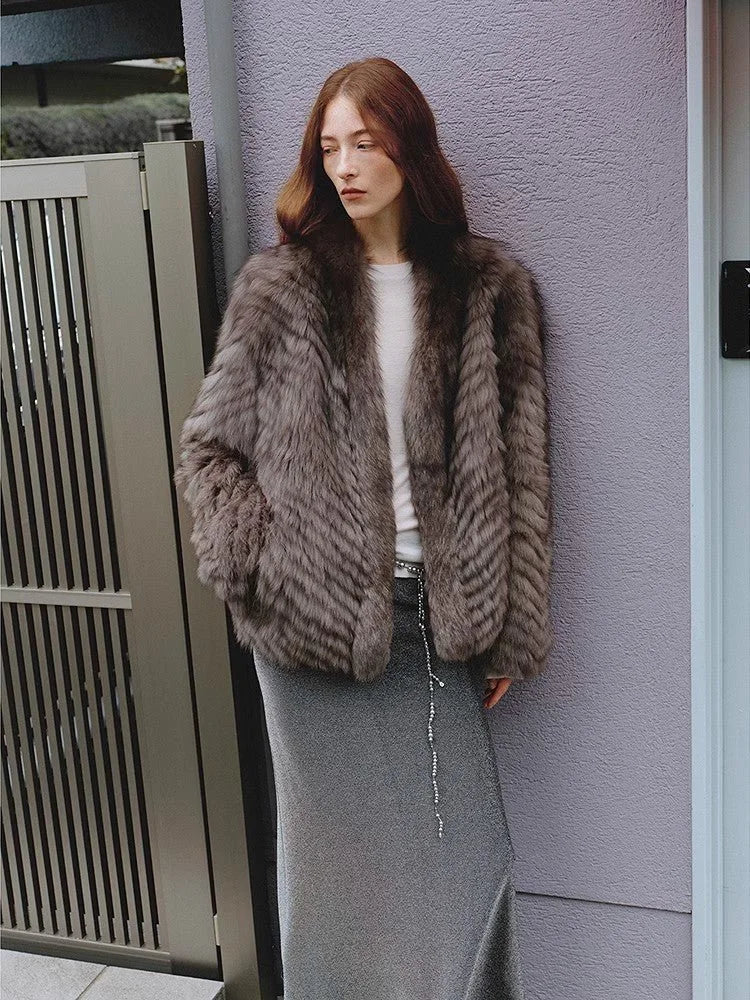
A photo set should make the buyer feel less dependent on the seller's adjectives.
A good resale gallery shows both appeal and the proof behind the promise.
Cover the Full Coat and Bring Major Flaws Forward
Use a clear, uncropped full-front view in neutral light against a plain background. Photograph the coat closed only when it is stable and the fronts meet naturally; an untested closure must not be presented as working.
After that, stop trying to make every photo flattering. The supporting photos have a different job: show the buyer what the coat actually is. Full back, side, open front, lining, collar, cuffs, closures, label, measurements and flaws belong in the set even when they are less pretty.
Open with a clear full-coat view, then bring any significant flaw forward with both a close-up and a locator view. Follow with back, sides, accessible lining, fasteners, cuffs, collar and measurements. Minor details can come later; a major defect should not wait behind every routine angle.
| Buyer question | Photo to include | What not to do |
|---|---|---|
| How long is it? | Full front and back, plus tape measure from back neck to hem. | Only list a size without length. |
| Does it close? | Close-up of hooks, eyes, buttons, zipper or ties, plus full closed front. | Show the coat open only. |
| Is the lining clean? | Full lining, label, pockets, hem and underarm lining. | Show one decorative label crop. |
| Where is the wear? | Cuffs, collar, pockets, hem and flaw close-ups in daylight. | Call wear minor without photos. |
| What is the texture like? | Surface close-up plus mid-distance photo. | Use only a filtered texture shot. |
| Will it fit? | Shoulders, bust/chest across, sleeve, length and sweep measurements. | Rely on vintage size tags. |
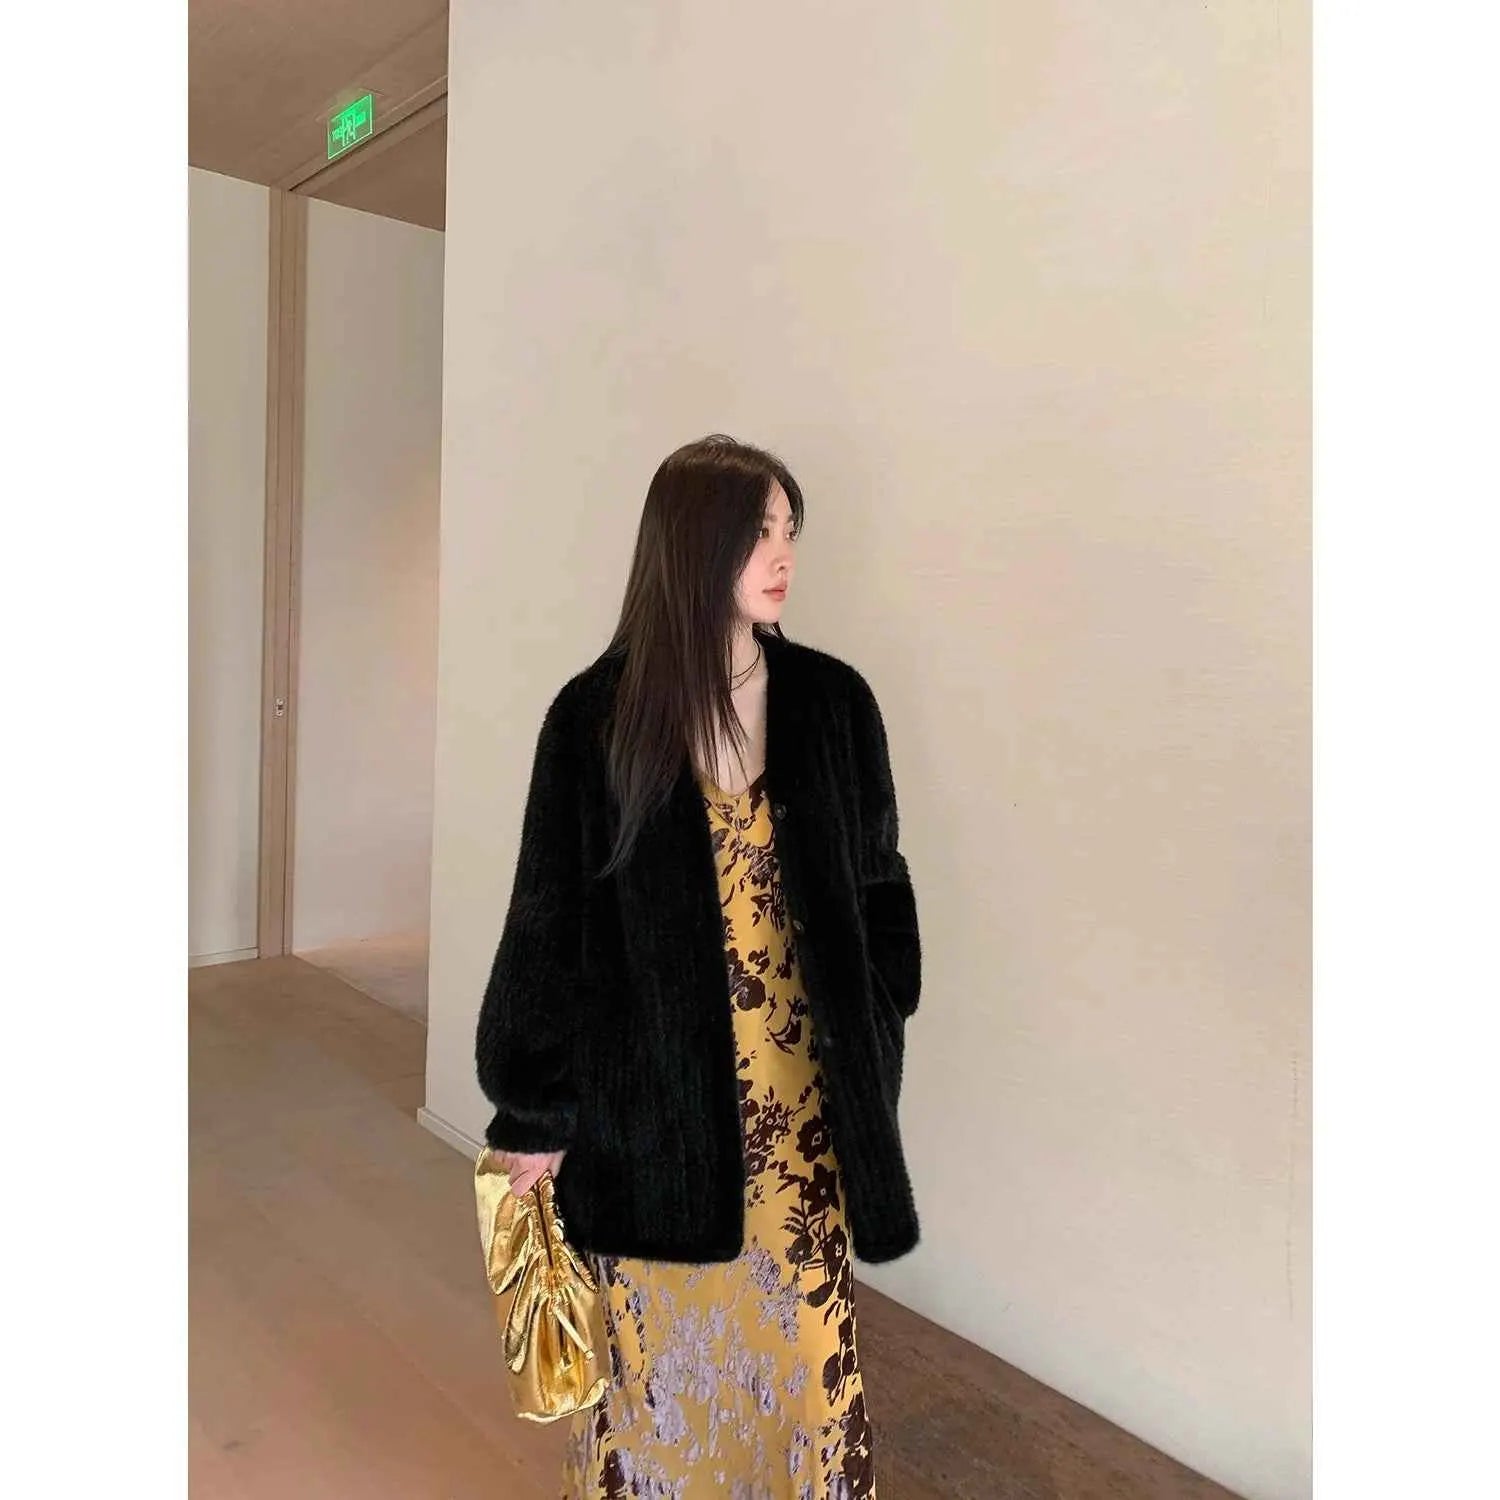
A high-trust fur listing photo set
Front closed, front open, back, side, collar, both cuffs, closure hardware, label, full lining, pockets, hem, measurement photos, flaw close-ups, surface close-up and an optional worn or mannequin view only when the coat is stable enough for ordinary handling.
After the photo set is ready, use condition description wording so the text points to visible proof.
Give Each Flaw a Close-up, Location and Scale
Center the flaw in clear, neutral light and include a wider view locating it on the coat. Keep the garment supported; do not pull a sleeve, lining or tear flat for the camera. A visible crease is preferable to straining fragile material for a tidier picture.
A close-up of an opening is useful. A close-up plus a wider shot of the right pocket area is better. Fur can turn into an abstract texture when photographed too close; context keeps the flaw from looking worse or smaller than it is.
Keep your finger, ruler or pointer out of the frame unless it helps scale and does not hide the flaw. A tape measure is useful for size; a finger over a tear is not.
Use scale for flaws that can be misunderstood. A lining opening, rubbed patch or missing button area can look larger or smaller than reality. A ruler or nearby seam can provide scale when it does not hide the flaw. Scale matters most for lining tears, bald spots, stains and missing hardware.
Retake any photo that needs an explanation to understand. If you have to write a long sentence to explain what a photo shows, the photo is probably weak. Retake it wider, brighter or from a steadier angle. A buyer should be able to connect photo and note quickly.
Show Labels and Measurements Without Overclaiming
A label can support material, maker, size or vintage interest, but it does not prove current condition. Show the label clearly, then show the rest of the coat. Buyers care about label evidence and condition evidence at the same time.
If the label is missing, say so. A missing label is not automatically fatal, but it changes how confidently you can state material or origin. For broader material and ownership context, use the Fur Coat Guide; for the wider Firelady fur category, use the Firelady Fur Guide.
Measurements are photos, not just text
A written measurement is helpful, but a tape-measure photo reduces doubt on vintage sizing. Photograph shoulder width, bust or chest across, sleeve length and back length clearly enough to read.
Keep the original image and inspect the uploaded version: a readable tape in the original may become blurred after compression. eBay's photo guidance supports clear, well-lit views; for this coat, check that the whole flaw and its location remain visible at the size a shopper will see. Retake an unclear photograph rather than editing away wear.
Measurement photos reduce a different kind of return risk.
Keep Color and Uploaded Detail Readable
Avoid filters that alter the apparent color of brown, black, cream or grey fur. Use neutral daylight and add an indoor view if the coat looks meaningfully different there.
Describe a visible lighting-dependent color shift and include the views showing it. Do not choose only the more flattering version.
Check the uploaded gallery on a phone. A cuff, label or measurement tape that is readable in the original file may become hard to see after resizing or compression.
A photo set should survive buyer zooming. Buyers zoom into fur because texture hides evidence at normal distance. Upload images large and sharp enough that cuffs, lining and labels remain readable. A soft-focus gallery may look elegant but weakens trust.
Use cleaner originals when the platform compresses images. Do not rely on the platform to rescue dark or blurry evidence.
Make sure the full views include both sleeve ends and the hem, and that the set includes the back and accessible interior. An attractive crop can remove the very area described in the condition note.
Give the coat enough space in the frame. A full photo with a little boring wall is better than a dramatic crop that removes the problem zones.
Use Video Only When Handling Is Safe
If the coat is stable enough for ordinary handling, a short video can show accessible lining or a closure operating without strain. Skip movement demonstrations and try-ons when stiffness, splitting or continuing hair release is present. The camera can move around a supported garment instead; explain which functions were not tested.
Video shows only what happened in that recording. It cannot certify the backing or predict how the coat will behave during wear. Do not repeat movement because a first clip failed to show a suspected condition problem clearly.
Match the Gallery to the Written Condition
Photo evidence should match the written condition grade. If the text says excellent, the photos should show why. If the photos show flaws, the condition grade should acknowledge them. The buyer will compare both, even subconsciously.
Include accessible collar, lining, underarm and pocket views when those areas have a visible issue. Any odor already noticed belongs in text; no photograph can prove where it originated.
A collar or lining photograph does not establish an odor check or its result. State an odor you actually noticed separately, and avoid making a clean-looking interior stand in for an odor-free claim.
When photos show risk, do not bury the risk
Before publishing, identify any unanswered condition question in the gallery. A significant flaw needs a close-up, a location and a matching description; photographs do not guarantee an offer or prevent a return.
Check the Finished Gallery
Every important flaw needs a location. Use a clear close-up and a wider view, with scale when helpful.
Measure and inspect the upload. The tape, label and flaw should remain readable at the displayed size.
Keep text and photos consistent. A photograph cannot establish odor, exact age or hidden strength.
Skip unsafe demonstrations. A camera can move around a supported coat; a video or try-on is optional.
Make the listing easy to trust from the thumbnail to the last close-up
Lead with the coat's best full view, then use the rest of the gallery to answer the questions that make buyers hesitate.
Photograph the coat like a buyer is already cautious
FireladyFur would let one image make the coat attractive, then use the rest of the gallery to remove doubt. Fur resale photos should show the parts a buyer cannot feel online: lining, closures, cuffs, collar, hem, label, measurements and any visible flaw.
That does not make the listing less premium. It makes the offer easier to trust. The strongest photo set lets the buyer admire the coat and inspect it without sending a separate message.
How many photos do I need to sell a fur coat online?
Use enough distinct views to show the full coat, accessible interior, measurements and every relevant flaw. There is no fixed number that establishes adequate coverage. Check the gallery for unanswered condition questions rather than stopping at a photo count.
Should I photograph flaws on a fur coat?
Yes. Show the flaw clearly, add a wider image locating it, and describe its extent and any unassessed effect on use. A photo cannot guarantee acceptance or settle every return question.
Should the main photo show the coat open or closed?
Include both open and closed views when the garment is stable and the fronts meet naturally. If the closure cannot be checked without strain, show the accessible front and state that it was not tested.


